Automated Emails
Notify Rush allows you to send automated emails based on key order events and conditions. You can trigger emails using factors such as order tags, unshipped orders, fraud risk levels, refund status, and more. Simply select an email template, and Notify Rush will automatically send the right message to your customers when the trigger conditions are met.
Key Benefits
- Automate Emails based in Triggers
- No need to manually send emails
- Track open and click rate
- A/B test email templates
How to Access
Click Email Automation in the App side menu
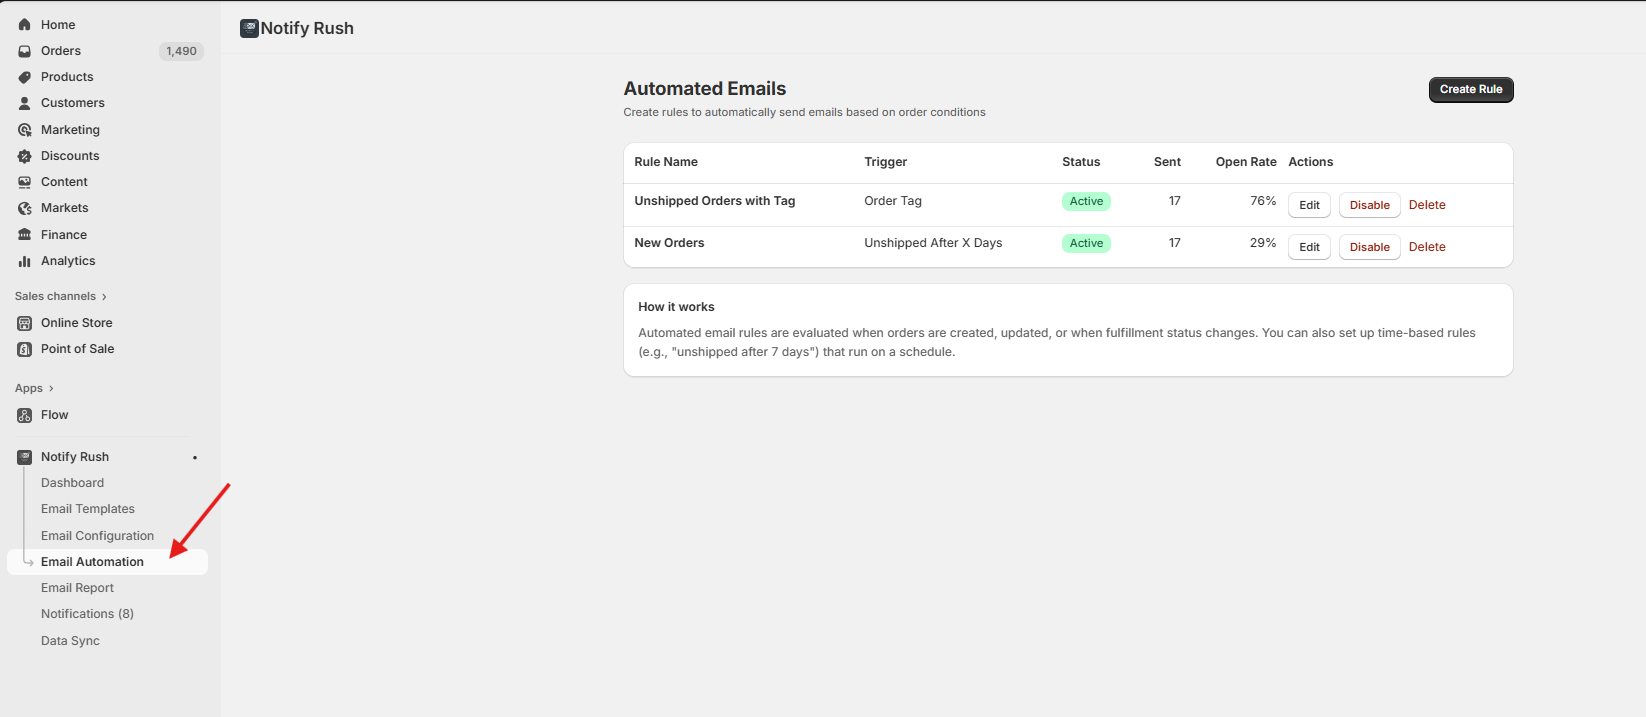
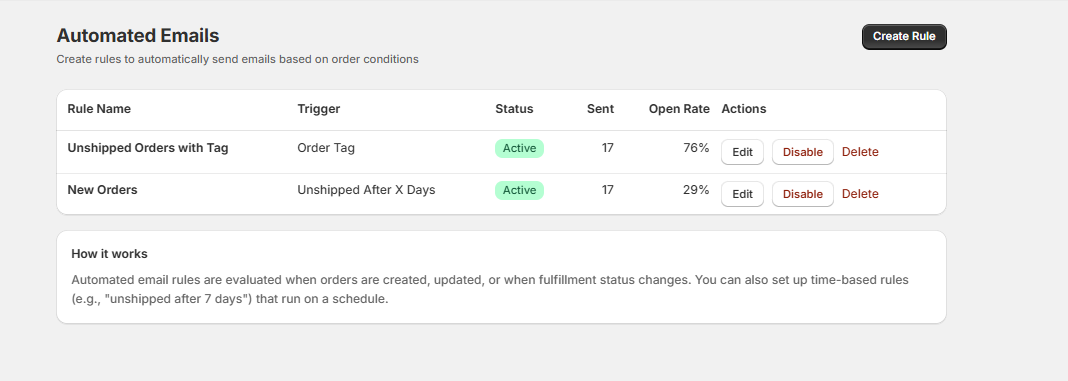
Automated Email List
You can view all the automated email rules you’ve created, along with detailed analytics such as the number of emails sent and open rates.
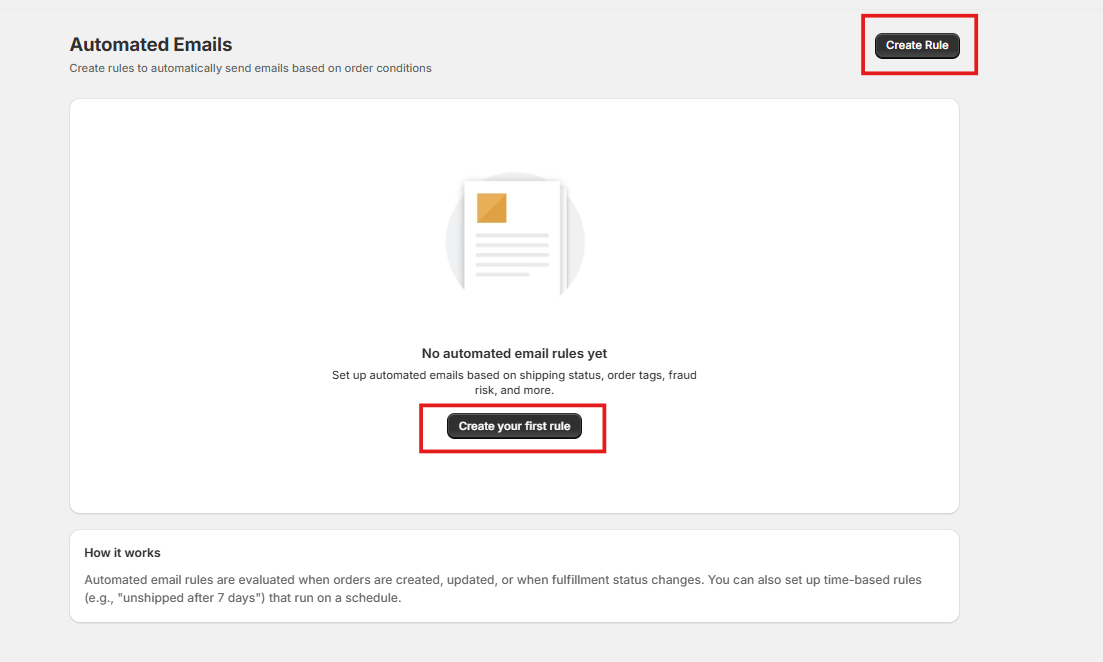
Create new Automated Email rule
To create a new rule, click on Create Rule button or Create you first rule button after selecting Email Automation side menu.
1. Enter Basic Information
- Rule Name
- Description (optional)
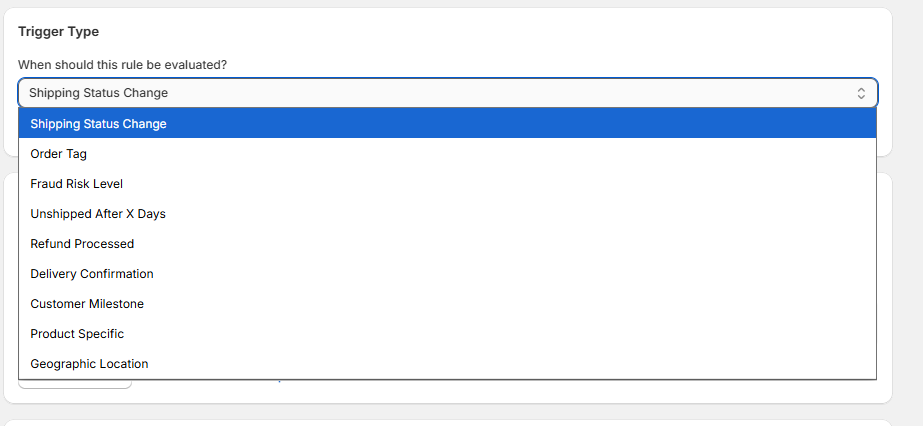
2. Trigger Type
Select a Trigger Type from the dropdown menu.
3. Conditions
Conditions allow you to define specific criteria that must be met before an automated email is sent. You can create simple single conditions or complex nested condition groups.
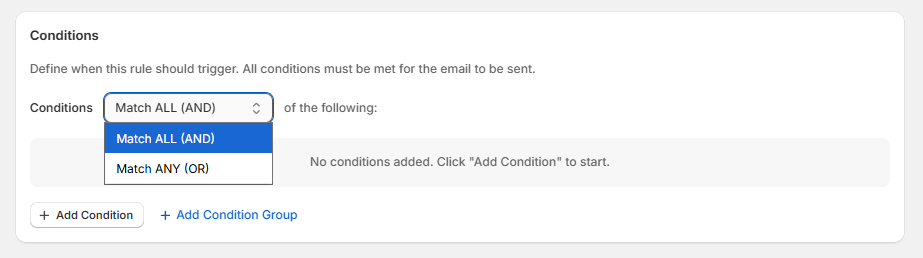
Understanding Condition Logic
At the top of the conditions section, you can choose how multiple conditions are evaluated:
- Match ALL (AND) – All conditions must be true for the email to send
- Match ANY (OR) – At least one condition must be true for the email to send
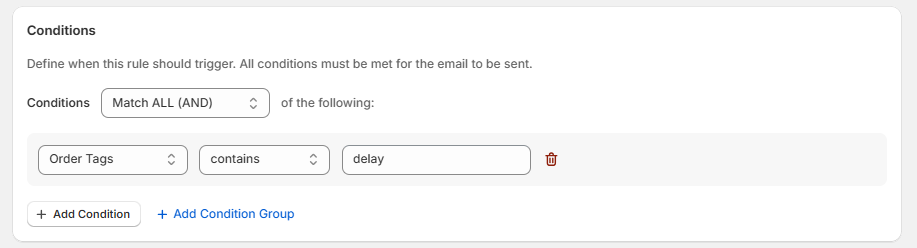
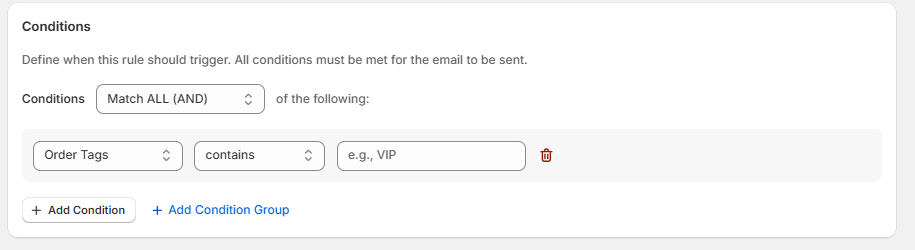
Adding a Condition
Click the Add Condition button to add a new condition. Each condition consists of three parts:
- Field – What data to check (e.g., Fulfillment Status, Order Tags, Total Price)
- Operator – How to compare the value (e.g., equals, contains, greater than)
- Value – The value to compare against
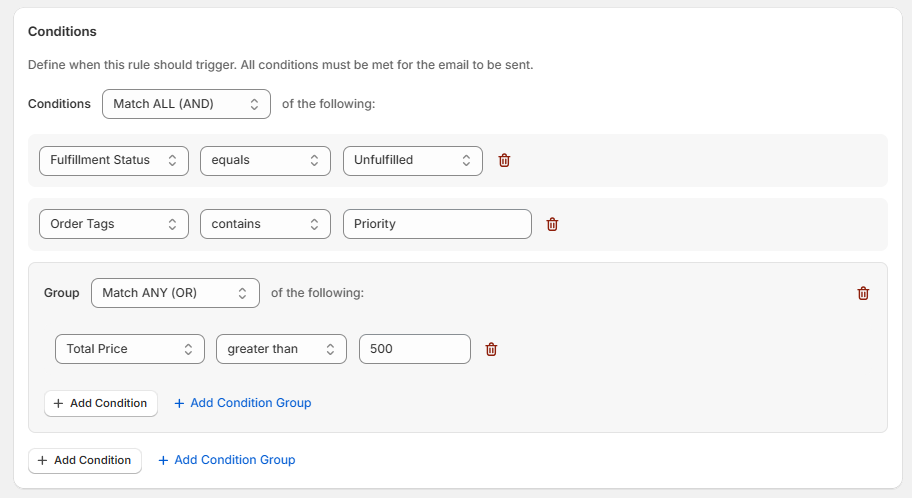
Condition Groups (Advanced)
For complex logic, you can create nested condition groups by clicking Add Condition Group. This allows you to combine AND/OR logic.
Example: Send email when:
- Fulfillment Status equals "Unfulfilled" AND
- (Order Tags contains "Priority" OR Total Price greater than 500)
You can nest up to 3 levels of condition groups.
Removing Conditions
Click the delete icon (trash) next to any condition or group to remove it.
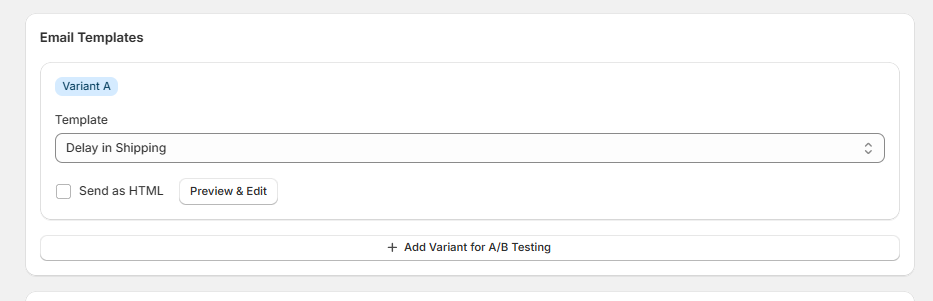
3. Email Templates
Select which email template(s) to send when the rule is triggered. You can use a single template or set up A/B testing with multiple template variants.
Selecting a Template
Choose an email template from the dropdown. Templates must be created beforehand in the Templates section of the app.
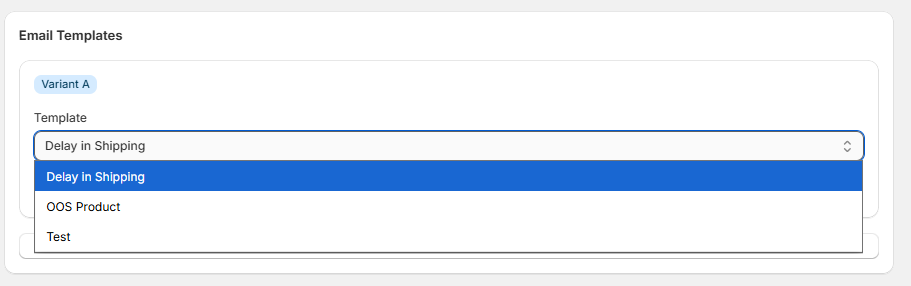
Note: If no templates exist, you'll see a warning message prompting you to create a template first.
A/B Testing
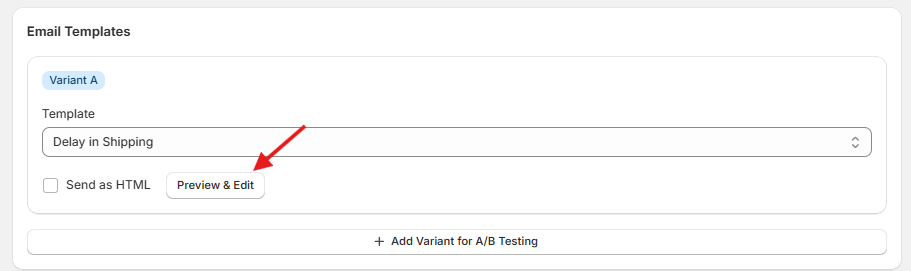
To test different email versions and optimize performance, click Add Variant for A/B Testing to add multiple templates.
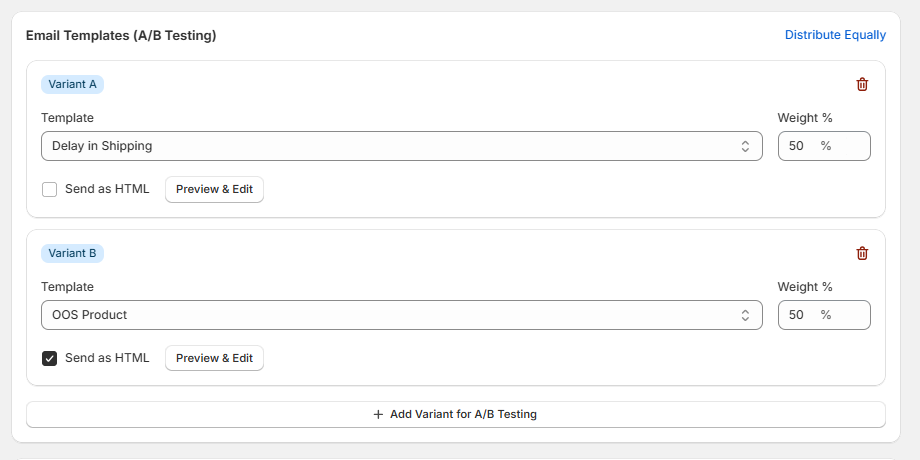
When using multiple variants:
- Each variant is labeled (Variant A, Variant B, etc.)
- Assign a Weight % to each variant to control how often it's sent
- Weights must total exactly 100%
- Click Distribute Equally to automatically split weights evenly
Example: With two variants at 50% each, half of triggered emails will use Variant A and half will use Variant B.
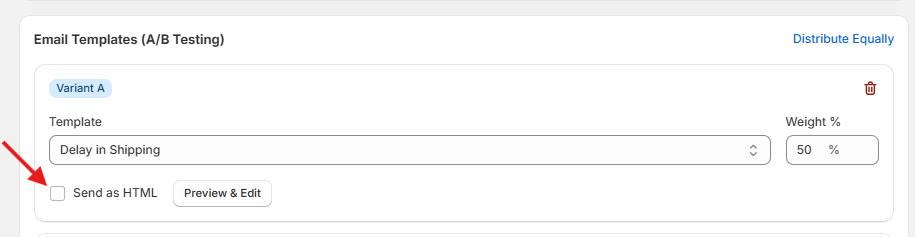
Email Sending Format Options
For each template variant, you can configure:
- Send as HTML – Check Send as HTML to send the HTML version of the email. Uncheck to send plain text only.
Preview & Edit
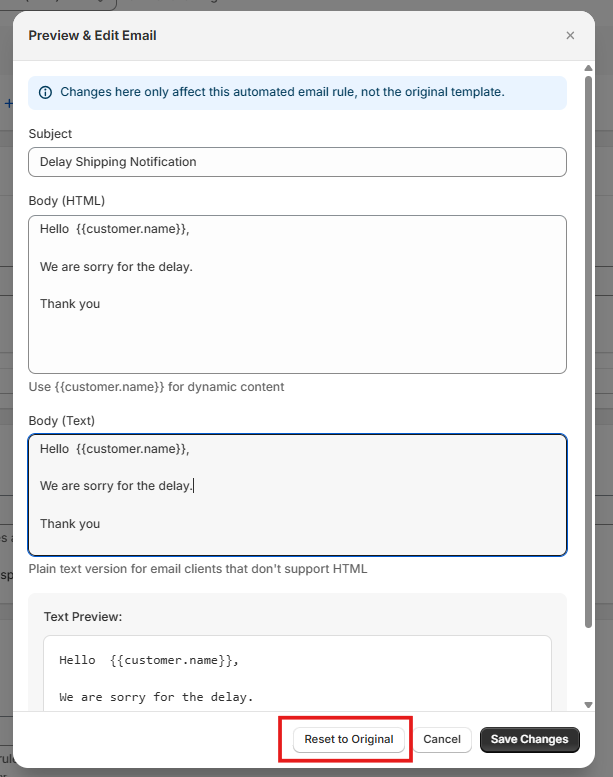
Click the Preview & Edit button to:
- View how the email will look
- Customize the Subject, Body (HTML), and Body (Text) for this specific rule
- Changes only affect this automation rule, not the original template
Click Reset to Original to revert any customizations back to the original template content.
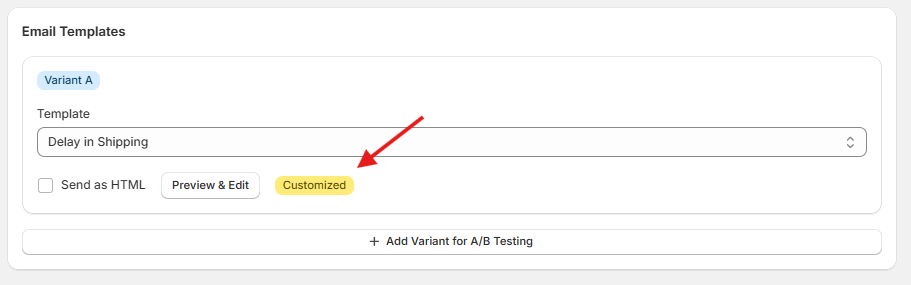
When you customize a template, a Customized badge appears to indicate the template has been modified for this rule.
Dynamic Content
Use template variables for personalized emails:
{{customer.name}}– Customer's name{{order.name}}- Order number like#101
Performance Stats (Edit Mode)
When editing an existing rule, you'll see performance statistics for each template variant:
- Sent – Total emails sent using this variant
- Opened – Number of emails opened
- Clicked – Number of emails with link clicks
- Open Rate – Percentage of opened emails with visual progress bar

Use these stats to determine which template variant performs better and adjust weights accordingly.
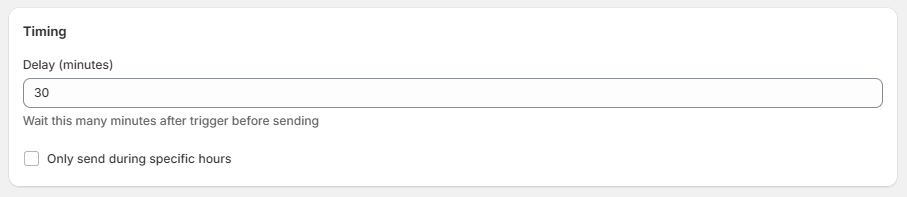
4. Timing
Configure when automated emails should be sent after the trigger conditions are met.
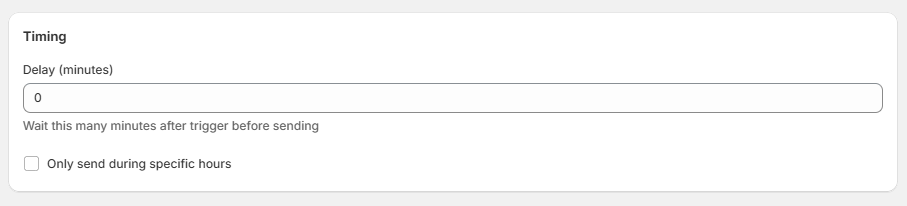
Delay
Set a delay (in minutes) to wait before sending the email after the rule is triggered.
Example Use Cases:
- Set a 30-minute delay for fraud risk alerts to allow time for payment verification to complete
- Set a 7-day delay (10080 minutes) for follow-up emails after delivery
Send Window (Optional)
Enable Only send during specific hours to restrict when emails are sent. This is useful to avoid sending emails at inconvenient times for your customers.
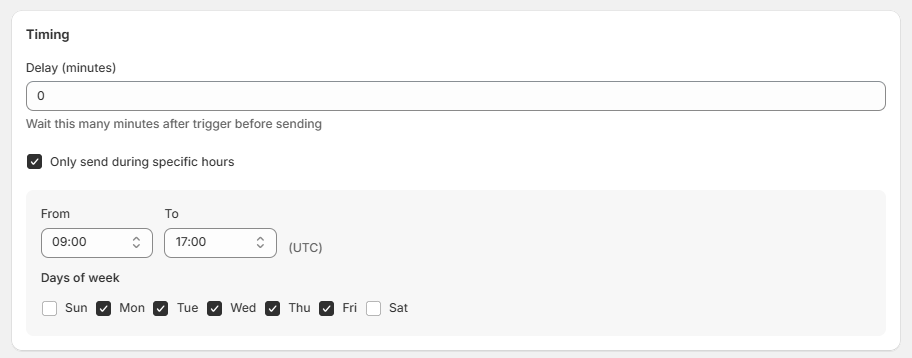
When enabled, configure:
Hours
- From – Start hour (24-hour format, e.g., 09:00)
- To – End hour (24-hour format, e.g., 17:00)
- All times are in UTC
Days of Week
Select which days emails can be sent:
- Sun, Mon, Tue, Wed, Thu, Fri, Sat
Check or uncheck each day to include or exclude it.
Default Send Window: Monday to Friday, 9:00 AM to 5:00 PM (UTC)
How Send Window Works
If an email is triggered outside the send window:
- The email is queued and held
- It will be sent at the next available time within the send window
Example: If your send window is Mon-Fri 9:00-17:00 UTC and an order triggers an email on Saturday at 10:00 AM, the email will be sent on Monday at 9:00 AM UTC.
Tip: Consider your customers' time zones when setting the send window. If most customers are in a specific region, adjust the UTC hours accordingly.
5. Sending Limits
Control how many automated emails are sent to prevent over-emailing your customers.
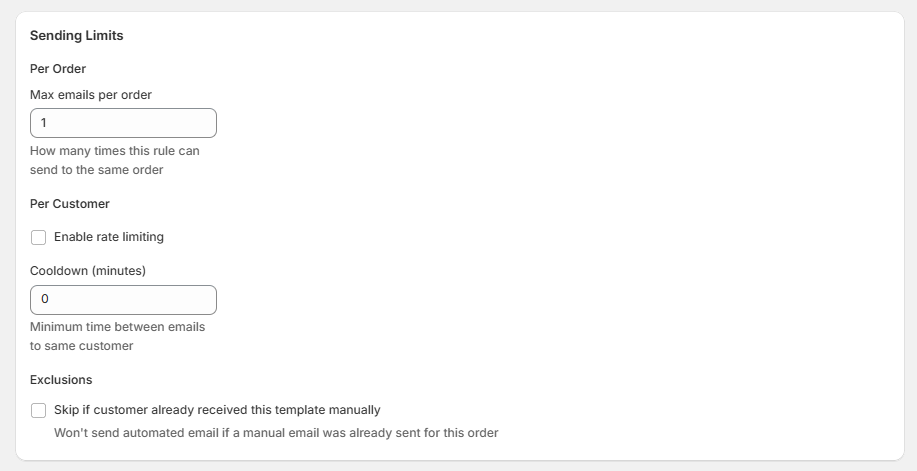
Per Order
Max emails per order: Limits how many times this rule can send an email for the same order
Default- Example: If set to 1, the rule will only send one email per order, even if the trigger conditions are met multiple times.
Per Customer
Enable Rate Limiting: Check this option to limit how many emails a single customer can receive from this rule within a time period.
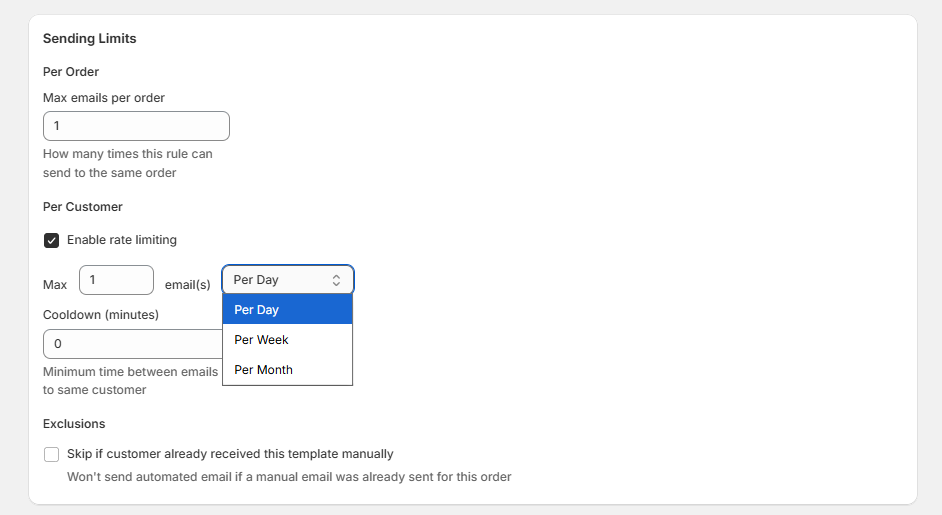
When enabled, configure:
Max emails:
- Any number - Maximum number of emails allowed
- Period - Per Day, Per Week, Per Month
Example: Setting "Max 2 emails Per Week" means a customer will receive at most 2 emails from this rule per week, regardless of how many orders they place.
Cooldown
Cooldown (minutes): Minimum time that must pass between emails to the same customer
Default: 0 (no cooldown)
Example: A cooldown of 1440 minutes (24 hours) ensures at least one day passes between automated emails to the same customer from this rule.
Exclusions

Skip if customer already received this template manually. When checked, the automated email won't send if you've already manually sent the same template for this order.
This prevents duplicate communications when you've already personally reached out to a customer about their order.